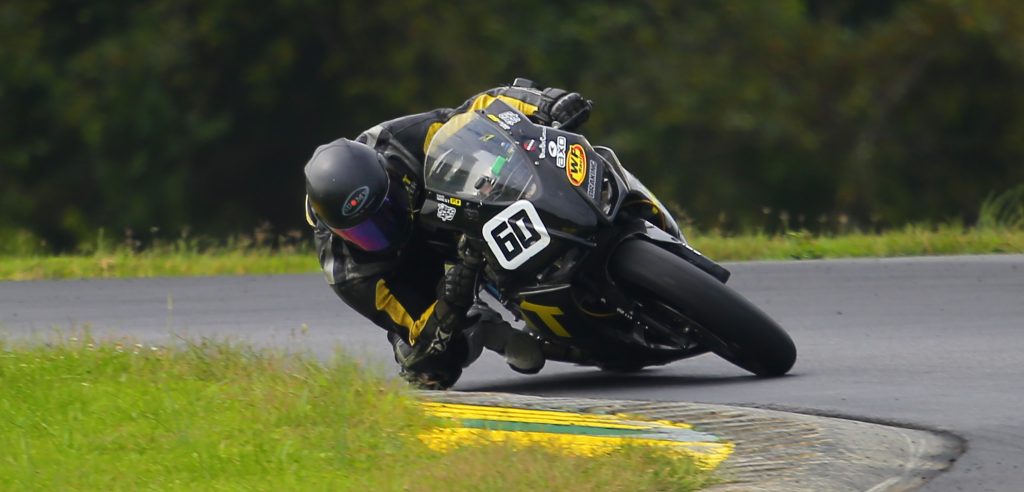
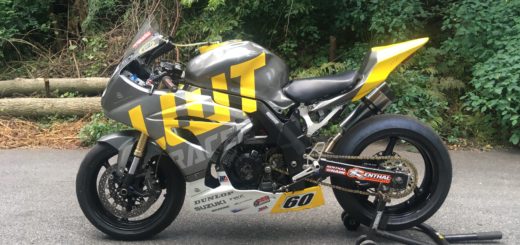
Ballpark Your SV650 Track Suspension
This post has already been read 14423 times!
Hopefully this article and video can answer many of the general questions everyone has about the basic set up of your SV650 Track / Race machine. The idea behind this is to get your chassis in the ballpark so you can start to finely tune your bike for you. This is not the answer to your bikes handling needs, this is short guide to get you started.
To properly measure your bike, the machine will need to be suspended off the ground; meaning no weight is on the wheels. To do this you will need a front stand that lifts the front end from the bottom triple clamp and a set of jack stands under the foot pegs.
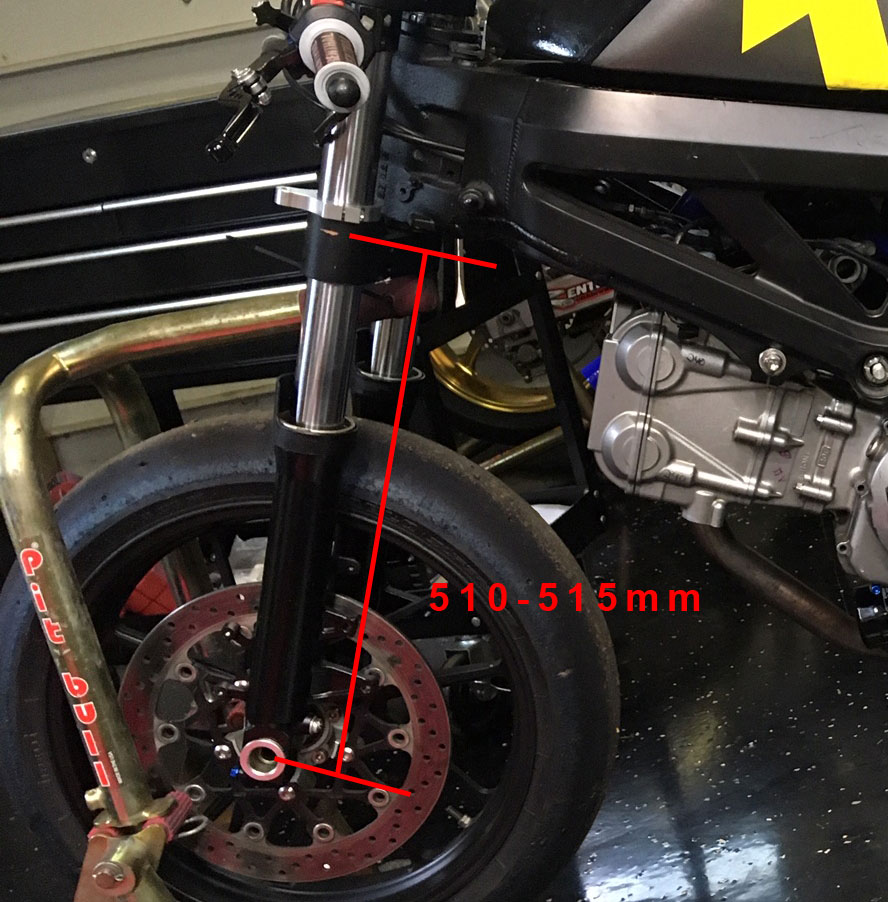
Now that you have your bike lifted off the ground, we can start getting our measurements. One of the most common things I hear asked is how much of the fork tube is sticking out the top of your triple clamp. This is a very inaccurate way to measure the height of your front end. Just because you have 10mm of fork showing out the top of your top clamp, doesn’t mean the next person should do the same. Not all fork tubes are the same length and not all internals are the same length. We need to measure from a fixed point on the frame to the center of the axle. This way, regardless of what forks, cartridges, and triple clamps you are running, your measurement is relevant. We will measure from the bottom of the steering neck.
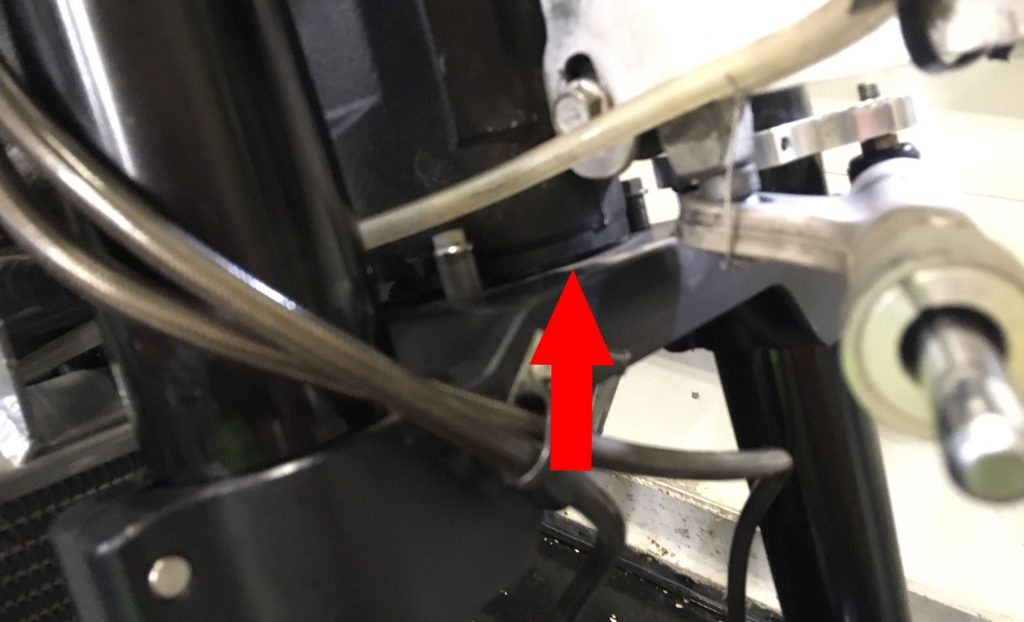
If your front wheel is on the bike, you cannot measure from the actual neck straight down to the center of the axle, so I make a mark on my triple clamp or fork that is in line with the bottom of the steering neck .You will take your tape measure (preferably metric as all my measurements are done in millimeters ) and measure from that line down to the center of the axle. Regardless of which generation SV650 you have, a good starting point will be between 510mm and 515mm. There are many other variable to consider, so these numbers are in no way shape or form the tell all perfect solution for you. I have seen people run 495-500mm and as long as 520mm. Between 510mm and 515mm will be good start point for you to get an idea of what may work for you.
In terms of your other adjustments (preload, compression, rebound), you can ballpark these as well. If you don’t have forks that are adjustable then you don’t need to worry. I normally start out with 5 turns of preload. This means, you start with the preload adjuster back all the way out (turn it to the left until it stops). Then tighten the preload adjuster 5 full turns. Depending on your speed, rider weight, and spring rate, you may need 8 turns or 0 turns of preload.
If you have GSXR forks, GSXR carts in your SV forks, or a cartridge like AK20, a good starting point is to have your Compression and Rebound adjusters almost all the way closed. Let’s say you your adjusters can do 3 full turns of adjustment, your starting point will be to close them (turn the adjuster to the right until it stop, do not force this once it gets snug, you will jam your needle). When your adjuster is closed, turn them one full turn out (turning to the left).
On the back end of things, we have our shock. To measure your shock, we go from the center of each eyelet. This is with the shock at max length which can be done with the shock absorber on or off the bike. Like stated above, if the shock is on the bike, the rear wheel must be off the ground so we have no weight on the shock.
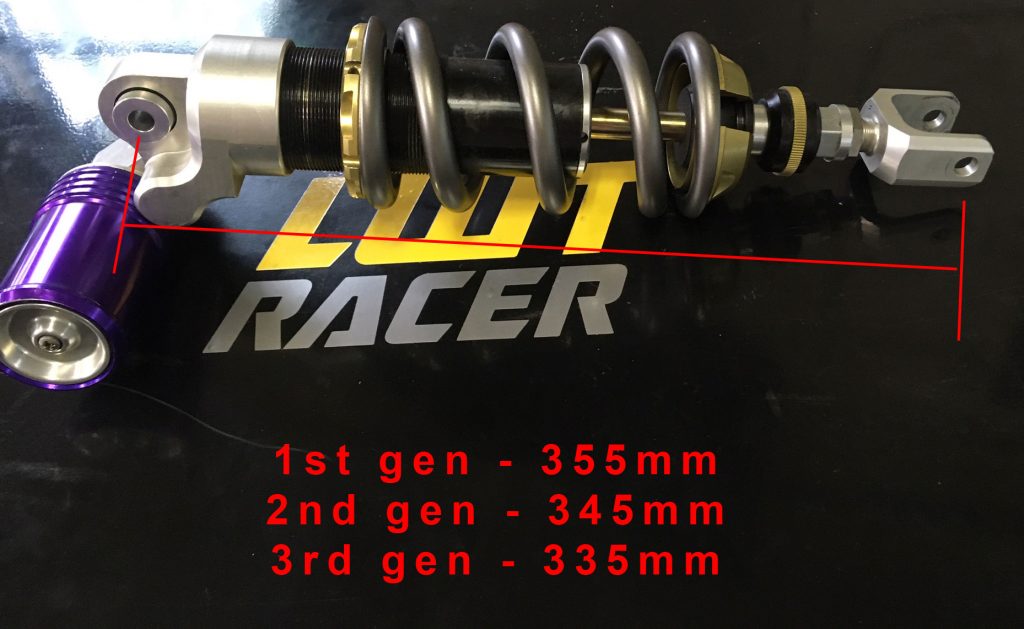
In the graphic above you can see the recommended starting point for our shock lengths. For your 1st gen or 2nd gen riders, I would not go any taller than those numbers. 355mm for 1st gen and 345mm for 2nd gen. Depending on what tire and tire pressure you run, this number will change. The 180/60 tires are much taller than those 160 or 165 tires.
Recommended starting shock lengths.
1st Gen Shock Length – 355mm (stock is 337mm)
2nd Gen Shock Length – 345mm (stock is 330mm)
3rd Gen Shock Length – 335mm (stock is 317mm)
When setting preload on your shock we first must know the length of your spring. Take all preload off the spring by loosening the shock preload adjuster/collar and measure the spring in it’s natural state. For an example, we will say the spring is 150mm. I typically start with 8mm of preload. So we will tighten the preload collar until it has compressed the spring 8mm which should leave us with a spring length of 142mm.
For our Compression and Rebound adjuster, a normal starting point is 2/3s out from max on rebound and 1/3 out on compression. So if our rebound adjuster has 30 total clicks, we will turn the adjuster to the right until it stop and then turn it left (turn out) 20 clicks. If our compression adjuster has 30 total clicks, we will turn the adjuster closed (to the right) and the open (turn to left) 10 clicks. In something like a Penske “double” shock, we only have low speed compression to adjust and normally has 7-8 clicks total. Starting out on 6 to stiffest is a good bet. These numbers could be completely useless depending on your brand of your shock, your shock oil, or your shock valving. Hopefully your suspension guy can tell you where he recommends to start from.
There are very many factors to consider when it comes to fine tune your suspension. Your weight, your speed, your riding style, brand of tires, tire size, overall wheelbase, sprocket size, swingarm length, spring rates, and the track you are currently riding at.
One of the biggest questions everyone asks before buying forks or a bike is “what weight rider is this sprung for?” This is not a thing. The springs you are using can be dependent on many variables including your speed, weight of rider, weight of bike, track, and tire choice. Springs are a personal preference along with what will make your tires happy. I run a wide range of spring rates depending on what track I am at.
I strongly encourage everyone to play around with all your suspension settings to understand how they all can change your experience on your motorcycle. You will never learn what you like as a rider if you do not experiment. I hope this post was able to get your Suzuki SV650 in the ballpark to get you going faster and safter.
This post has already been read 14423 times!
